How to Choose the Right Truss Head Carriage Bolt

Choosing the right Truss Head Carriage Bolt is a small decision with major consequences. It affects joint strength, installation speed, appearance, and long-term maintenance. In workshops, the wrong bolt may spin during tightening, crush a thin panel, or leave insufficient thread engagement. These failures often begin with a simple mistake: selecting by diameter alone.

Industry demand reinforces the need for careful specification. Grand View Research’s Fasteners Market Size, Share & Trends Analysis, 2024–2030, identifies construction and automotive applications as major market drivers. Those environments require repeatable performance, not merely low purchase prices. ASME B18.5 provides dimensional guidance for carriage bolts, while ASTM F568/F568M supports material and mechanical property evaluation for many metric fasteners. Always verify the applicable standard and supplier documentation.

Fit matters most.

This guide examines head geometry, square-neck engagement, thread size, material, strength grade, coating, and working environment. A rounded truss head can improve clearance and reduce snagging, especially on sheet metal assemblies. However, its broader profile may not suit every recessed connection. The square neck also needs enough panel thickness and suitable material hardness to resist rotation. That detail is easy to overlook.

A practical selection process should compare load requirements, corrosion exposure, installation tools, and available inspection records. Product catalogs can simplify choices, but they sometimes omit critical information, such as proof load, coating thickness, or thread tolerance. That deserves skepticism. No single bolt fits every application. Engineers should confirm dimensions through drawings, test samples when necessary, and review certificates before approving production use.

How to Choose the Right Truss Head Carriage Bolt

Understanding Truss Head Carriage Bolt Design and Function

How to Choose the Right Truss Head Carriage Bolt

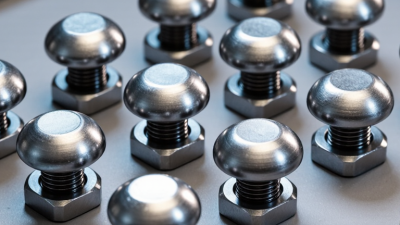
A truss head carriage bolt combines a broad, low-profile head with a square neck beneath it. This design spreads clamping pressure across thin sheet material. It also reduces snagging near panels, guards, and light frames. ASME B18.5-2022 defines dimensional requirements for carriage bolts, including head shape, neck size, and length. These details matter when the bolt passes through a narrow slot or a pre-punched hole.

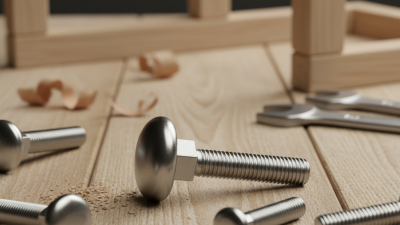
The square neck resists rotation during tightening. That feature works best when the hole has matching corners. A round, worn, or oversized hole can let the bolt spin. Choose a diameter that fills the hole without forcing it. ASTM A307 covers carbon-steel bolts used in general applications, but its grade does not replace a project-specific strength calculation. Check the washer, nut, joint thickness, and corrosion exposure together. A zinc finish may suit dry indoor service, while damp locations require more careful material selection. I have seen failures caused by the washer, not the bolt. That detail is easy to miss.

Tips: Measure the combined material thickness first. Add enough thread for full nut engagement, but avoid excessive protrusion. Check the head clearance with a straightedge. Tighten according to the applicable specification, not instinct. The Industrial Fasteners Institute identifies proper installation and torque control as key factors in joint reliability. Recheck the fit after assembly; real holes are rarely perfect.
Identifying the Correct Bolt Size, Thread, and Material

How to Choose the Right Truss Head Carriage Bolt

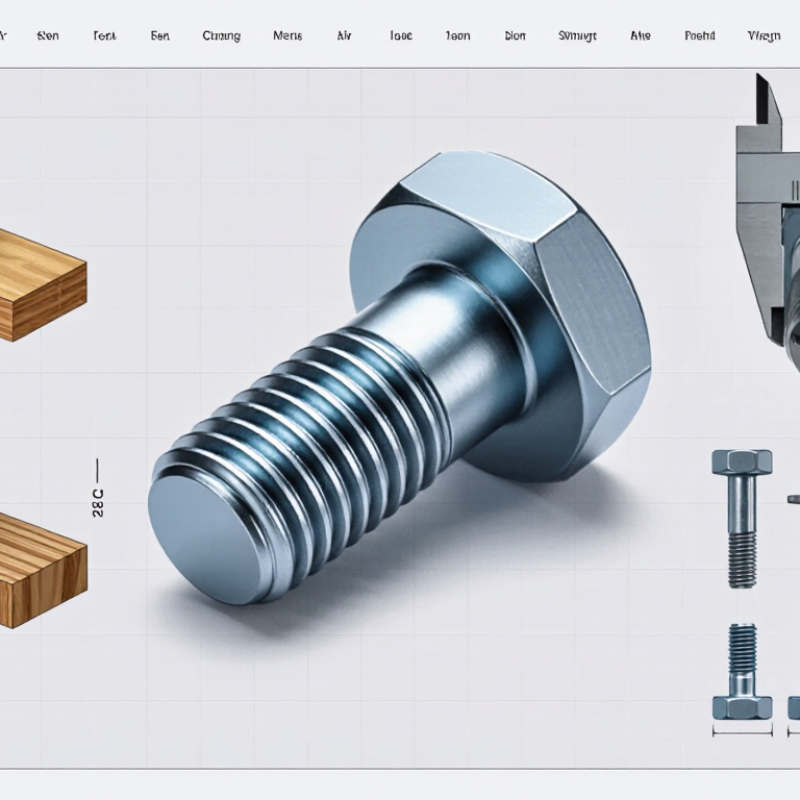
Choosing the correct truss head carriage bolt starts with accurate measurements. Measure the shank diameter and length under the head. A 1/4-20 × 1-inch bolt has a 1/4-inch diameter and 20 threads per inch. ASME B18.5 defines dimensional requirements for carriage bolts, including head and neck features. Match the thread to the nut. UNC threads suit many general fastening applications, while UNF threads provide finer engagement. Do not force a square neck into an undersized hole. It may damage the panel.

Material affects strength, corrosion resistance, and service life. ASTM A307 Grade A carbon-steel bolts have a minimum tensile strength of 60 ksi. SAE J429 Grade 5 fasteners reach 120 ksi minimum tensile strength, according to its mechanical property requirements. More strength is not always safer. Thin sheet can deform beneath a high-strength bolt. ASTM F593 covers corrosion-resistant stainless-steel bolts for damp or exposed environments. Zinc-coated steel works well indoors, but salt spray can shorten its life. Thread fit also matters. ASME B1.1 identifies common inch thread classes, such as 2A external and 2B internal threads.

Tips: Check the bolt with a caliper and thread gauge. Test-fit one piece first. Leave at least two full threads beyond the nut. Avoid guessing torque. Lubrication, coating, and surface friction can change clamp load significantly. I have seen “correct” bolts fail because the washer was too small. That detail deserves a second look.

Matching Head Style and Drive Requirements to the Application

Choosing the right truss head carriage bolt starts with the joint, not the fastener catalog. A truss head spreads pressure across a wider surface and leaves a lower profile than many standard bolt heads. This helps protect thin sheet metal, panels, and covered assemblies from dents or snagging. Check the clearance around the head carefully. A head that looks low enough on paper may still interfere with a sliding cover.

Carriage bolts usually use a square neck beneath the head to resist turning while the nut is tightened. That feature works well in pre-punched square holes. However, it may not hold securely in soft wood, oversized holes, or thin material. In those cases, I test a sample joint before ordering in quantity. It is a small step, but it can reveal unwanted spinning during assembly.

Drive requirements deserve equal attention. Traditional carriage bolts are tightened from the nut side, so the head may have no driving recess. If the installer cannot reach the nut, select a design with a suitable internal drive only when the specification allows it. Match the drive to the available tool, torque range, and working angle. A compact hex or square drive can improve control in tight spaces. Still, more drive features do not always mean better performance. I have seen installations fail because the chosen recess was convenient, but the head style was too shallow for the panel load. Review the material thickness, washer fit, corrosion environment, and removal plan before final selection.

How to Choose the Right Truss Head Carriage Bolt

Match the head style and drive requirement to the joint design. A traditional carriage bolt uses a square neck for anti-rotation and is tightened from the nut side, while truss-head screws use a recessed drive for installation from the head side.

Feature key: 1 means the feature is normally present in that fastener configuration; 0 means it is normally absent. Confirm the applicable dimensional and material requirements in the relevant fastener standard and the supplier’s specification before purchase.

Evaluating Strength, Corrosion Resistance, and Installation Conditions

How to Choose the Right Truss Head Carriage Bolt

Strength starts with the joint, not the bolt label. ISO 898-1 lists an 8.8 property class with a nominal tensile strength of 800 MPa and a minimum yield strength of 640 MPa. However, a truss head can deform before the shank reaches its rated load. Check the manufacturer’s test certificate, thread size, head thickness, and square-neck dimensions. ASTM F606/F606M provides recognized methods for verifying hardness, tensile strength, and proof load. Do not estimate performance from appearance.

Corrosion resistance depends heavily on installation conditions. The NACE IMPACT study estimated global corrosion costs at about US$2.5 trillion annually, equal to roughly 3.4% of global economic output. Moisture, road salt, trapped dirt, and dissimilar metals can quickly defeat an unsuitable finish. Use stainless steel in persistent wet areas, or select a properly tested protective coating for moderate exposure. Salt-spray hours alone can mislead; ASTM B117 is a test method, not a direct service-life guarantee. Field inspections often find rust beginning beneath washers.

Installation details matter more than many buyers expect. Match the bolt diameter to the hole without excessive clearance. A loose square neck may spin under tightening. Over-tightening can crush timber, distort thin sheet, or damage the coating. Use a calibrated wrench when joint preload matters. Torque charts are only starting points because friction changes with finish and lubrication. I have seen clean-looking assemblies fail early because the washer was too small. Recheck the joint after vibration, moisture cycling, or seasonal movement.

Selecting the Right Nut, Washer, and Tightening Method

A truss head carriage bolt needs a nut that matches its thread diameter, pitch, and material. A mismatched nut may feel secure but damage the threads during tightening. Check the thread fit by hand before using a wrench. It should turn smoothly.

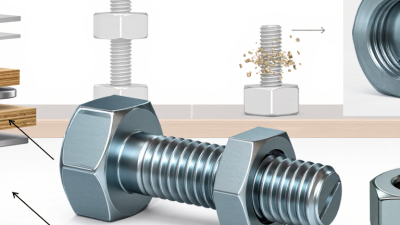
Use a flat washer beneath the nut when fastening thin sheet metal, wood, or slotted holes. The washer spreads pressure and helps prevent surface crushing. In outdoor assemblies, select compatible materials to reduce galvanic corrosion. Keep the washer clean and flat. A bent washer can create uneven clamping force. Lock washers are not always necessary, and they should not replace correct torque or thread engagement.

Tighten the nut with a calibrated torque wrench whenever a specification is available. Start by seating the bolt gently, then increase torque in small steps. Stop when the washer contacts the surface firmly. Do not rely on maximum wrench force. It can deform a thin panel or strip the threads. Leave at least two full threads extending beyond the nut, unless the design specifies otherwise. I once treated “hand-tight” as sufficient on a vibrating frame; the joint loosened after several operating cycles. That mistake changed my inspection routine. I now check bolt seating, washer position, and thread exposure before final tightening. Recheck the assembly after initial use, especially when the joint experiences vibration, temperature changes, or repeated loading.

How to Choose the Right Truss Head Carriage Bolt - Selecting the Right Nut, Washer, and Tightening Method

Typical Use Recommended Bolt Size Compatible Nut Washer Selection Preferred Tightening Method Indicative Dry Torque* Important Considerations
Light-duty sheet metal, trim, and enclosures M5 × 0.8 or 3/16-16 UNC Matching hex nut; prevailing-torque nut where vibration is present Flat washer with an outside diameter large enough to prevent pull-through Hand-tighten, then use a small torque wrench M5: approximately 2–3 N·m
3/16 in: approximately 3–4 ft·lbf
Avoid over-tightening thin material, which can deform the panel or crush the truss head.
General equipment assembly and brackets M6 × 1.0 or 1/4-20 UNC Class 8 or equivalent metric hex nut; Grade 5 or equivalent inch hex nut Standard hardened or plain flat washer matched to the bolt diameter Torque wrench using a six-point socket M6: approximately 8–10 N·m
1/4 in: approximately 5–7 ft·lbf
Use a washer under the nut when the clamped surface is softer than the fastener.
Wood-to-metal framing and outdoor structural panels M8 × 1.25 or 5/16-18 UNC Class 8 or 8.8-compatible nut; Grade 5 or equivalent inch nut Large-diameter flat washer to distribute load across wood or composite material Tighten gradually with a calibrated torque wrench; recheck after material settling M8: approximately 18–25 N·m
5/16 in: approximately 10–14 ft·lbf
Torque should be limited by the compressive strength of the wood or panel, not only by bolt capacity.
Medium-duty steel frames and machine guards M10 × 1.5 or 3/8-16 UNC Class 8 or 8.8-compatible nut; Grade 5 or equivalent inch nut Hardened flat washer when the joint is highly loaded or the surface is slotted Calibrated torque wrench; use a cross-pattern sequence for multiple bolts M10: approximately 35–50 N·m
3/8 in: approximately 20–25 ft·lbf
Confirm that the truss head and square neck can withstand the required clamping load.
Heavy brackets and vibration-prone assemblies M12 × 1.75 or 1/2-13 UNC Prevailing-torque all-metal nut or approved locking nut with matching strength class Hardened flat washer; use a structural washer where permitted by the joint design Torque wrench with a final verification pass; do not rely on impact tools for final torque M12: approximately 60–85 N·m
1/2 in: approximately 45–55 ft·lbf
Locking nuts increase installation resistance; use the specified final torque after accounting for prevailing torque.
Large structural or highly loaded connections M16 × 2.0 or 5/8-11 UNC Matching high-strength nut specified for the bolt grade Hardened structural washer selected for the hole and bearing surface Engineer-approved torque, tension-control, or turn-of-nut procedure M16: approximately 150–210 N·m
5/8 in: approximately 95–110 ft·lbf
Do not use a generic torque value for safety-critical joints; follow the applicable design standard and fastener specification.
Notes: Torque values are indicative dry-installation references for common carbon-steel fasteners and are not a substitute for the bolt manufacturer's specification. Actual torque changes with strength class, thread condition, lubrication, coating, nut type, washer friction, and joint material. For critical applications, use a verified torque-tension procedure and confirm the required preload.