How to Choose the Right Carriage Bolt?
Choosing the right Carriage Bolt is not simply a matter of matching a diameter to a drilled hole. The correct choice affects strength, alignment, installation speed, and long-term safety. A carriage bolt usually has a rounded head and a square shoulder beneath it. That shoulder helps prevent rotation when the nut is tightened.
The material matters. Zinc-plated steel may suit indoor furniture, garden structures, and light framing. Stainless steel is often better near moisture, salt air, or outdoor equipment. However, stainless steel is not automatically the strongest option. Check the grade, load requirements, and surrounding materials before deciding. A bolt that looks suitable can still fail under vibration or repeated stress.
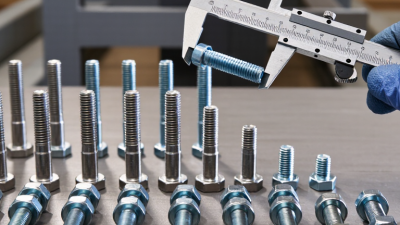
Length requires careful measurement. The bolt must pass through every connected layer, then leave enough thread for the washer and nut. Too little thread creates a weak connection. Too much exposed thread can snag clothing, collect debris, or look unfinished. Small details matter.
In practical assembly work, the square shoulder sometimes fails to seat properly in thick or oversized holes. That issue is easy to overlook. Test the fit before final tightening. Choose the diameter, length, head style, and finish as one complete system. Product specifications from reputable manufacturers should guide the final decision, especially for load-bearing applications. A careful choice saves time later. Mistakes happen. Reviewing the joint before installation remains worthwhile.
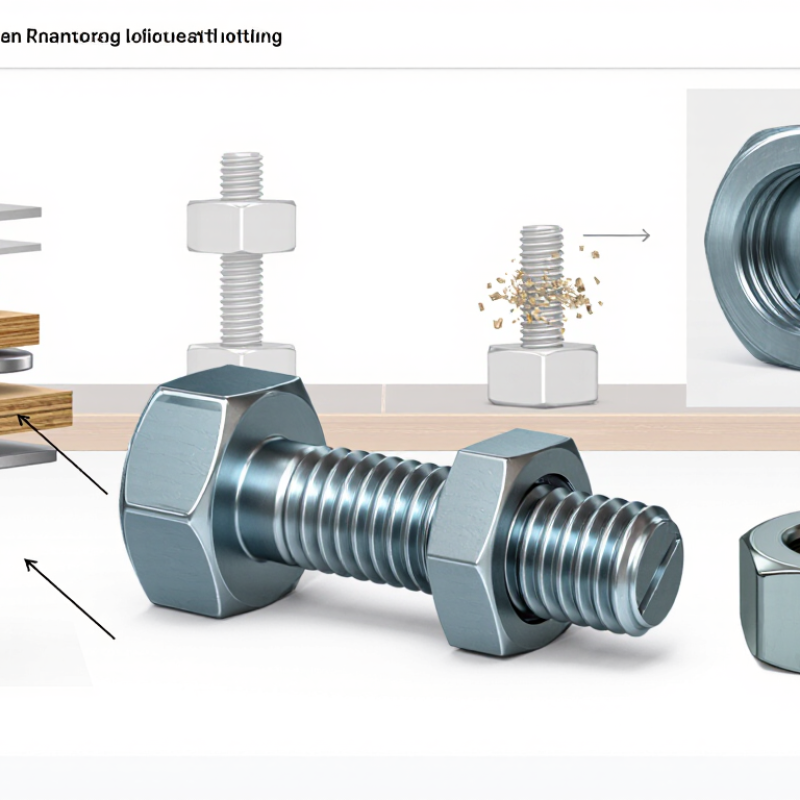
Understanding Carriage Bolt Design and Common Applications
How to Choose the Right Carriage Bolt?
A carriage bolt has a rounded, low-profile head and a square neck beneath it. The neck locks into the material as the nut is tightened. This design prevents the bolt from spinning during installation. It also leaves a cleaner surface than a hex-head bolt. Shank length matters. Measure the material thickness, washer, and nut together. A bolt that is too long may snag clothing or collect moisture. A short bolt may not provide enough thread engagement. Small details matter here.
Carriage bolts commonly connect timber, sheet metal, fencing parts, outdoor frames, and furniture components. In wood, the square neck needs enough thickness to grip securely. Soft timber may require careful tightening, because excessive torque can crush the fibers. For outdoor use, corrosion-resistant finishes are practical. Stainless steel suits damp areas, while coated steel can work in less aggressive conditions. Material compatibility deserves attention, especially where moisture stays trapped between surfaces.
Before choosing one, check the hole diameter and neck dimensions. The head should sit flat without sinking too deeply. I have found that pre-drilling improves alignment, but the neck does not always seat perfectly in soft wood. Rechecking the joint after installation is worthwhile. Vibration, shrinking timber, and seasonal movement can loosen a connection. The “right” bolt is not only about appearance; it must match the load, environment, and installation method.
How to Choose the Right Carriage Bolt?
Understanding carriage bolt design starts with selecting a suitable nominal diameter. The chart compares the tensile stress area of common Unified National Coarse (UNC) thread sizes. A larger tensile stress area generally provides greater resistance to direct tensile loading, but the final choice must also consider material, bolt length, joint thickness, load type, and corrosion conditions.
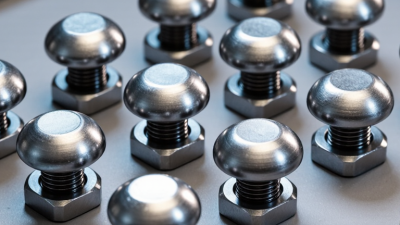
Carriage bolts are commonly used in timber framing, wood-to-metal connections, outdoor structures, fencing, trailers, and machinery guards. Their domed head provides a finished outer surface, while the square neck helps prevent rotation when the nut is tightened. Tensile stress-area values are based on standard UNC thread calculations and are shown in square inches.
Checking Head Style, Neck Shape, and Installation Requirements
Choosing the right carriage bolt starts with the joint, not the hardware drawer. In field repairs, I have seen bolts fail because the head was treated as decoration. A domed head suits exposed panels and reduces snagging on clothing or tools. A low-profile head helps where clearance is tight. Flat bearing surfaces matter. The head should seat firmly against the material without crushing thin sheet metal. For timber, a broad, smooth underside often prevents the bolt from twisting during tightening. For metal assemblies, check the washer area and the hole edge for distortion.
The neck shape controls grip after installation. A square neck bites into wood or a prepared square hole, resisting rotation as the nut turns. Round-neck designs may suit softer materials or clearance-limited joints, but they need another anti-rotation method. Measure the neck length carefully. If it is too short, the square section cannot engage. If it is too long, the bolt may bottom out before clamping the parts. That mistake is easy to miss under a washer. I once selected by diameter alone; the fit looked acceptable, but the joint loosened under vibration.
Installation requirements deserve a practical check before ordering. Confirm material thickness, hole diameter, wrench access, and the required tightening method. Use a pilot hole for wood when splitting is possible. Metal may need deburring after drilling. Keep threads clean and use a washer on soft or uneven surfaces. Do not rely on hand feel alone. A calibrated torque wrench provides more consistent clamping, although real assemblies rarely stay perfectly clean. Inspect the joint after initial use, especially near vibration, moisture, or repeated loading.
Verifying Nut Compatibility, Fit, and Long-Term Performance
How to Choose the Right Carriage Bolt?
A carriage bolt is only reliable when its nut, hole, and surface fit work together. Check the bolt diameter and thread pitch against the nut. ASME B18.5 covers common carriage-bolt dimensions, while ISO 898-2 helps verify nut property classes. Never match parts by diameter alone. A coarse-thread bolt needs a compatible coarse-thread nut. Fine threads require the same pitch.
Fit also matters. The square neck should sit firmly inside the material, not spin under tightening. Measure the drilled hole carefully. An oversized hole can reduce bearing contact and allow movement. A washer may protect softer wood or thin metal, but it cannot correct a poor hole. Keep the bolt head flush when the joint design requires it. Do not guess.
Tips: Test one bolt and nut by hand first. The nut should turn smoothly, without wobbling or binding. Then check exposed thread length. Two or three threads should extend beyond the nut after tightening. Avoid mixing strength classes without engineering review. ASME specifications identify dimensions, but they do not replace load calculations.
Long-term performance depends on preload, corrosion control, and vibration. NASA Reference Publication 1228 explains that only about 10–15% of tightening torque typically becomes useful clamp load; friction consumes the rest. Torque alone can mislead. I once treated a tight nut as proof of a secure joint. That shortcut was wrong. Recheck the joint after initial service, especially where vibration, moisture, or temperature changes are present.